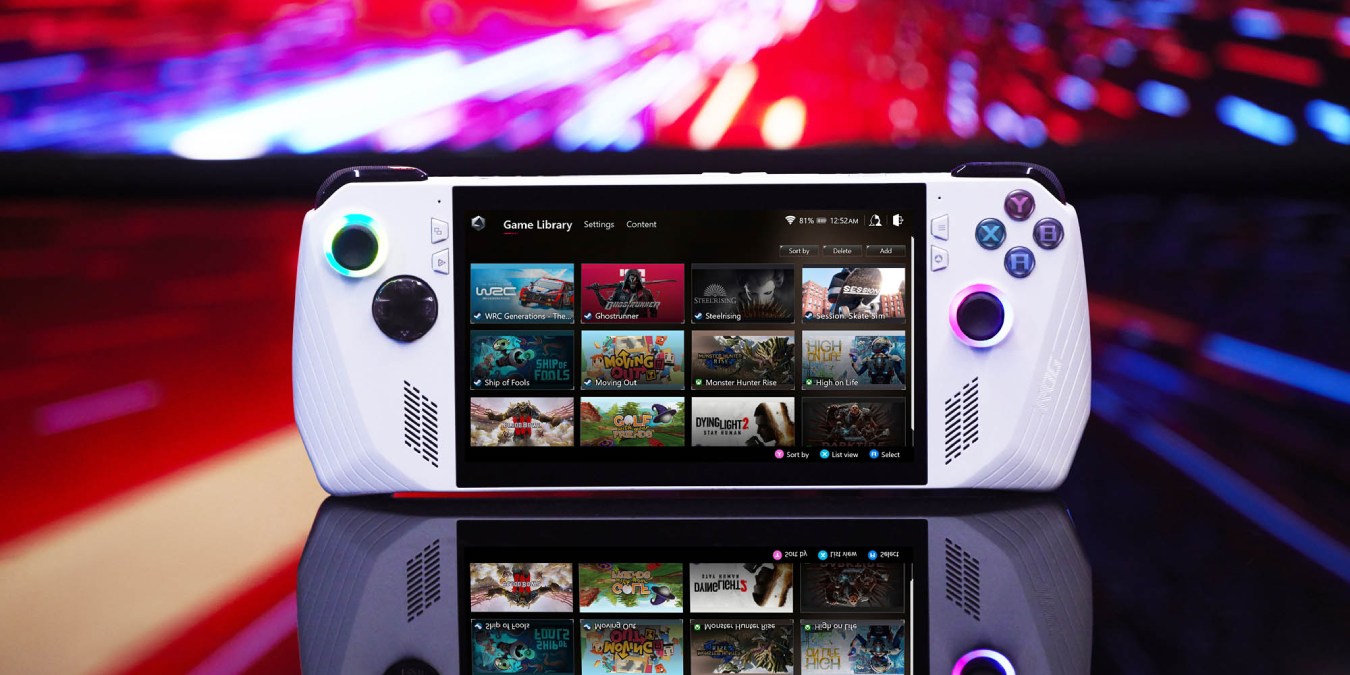
The ASUS ROG Ally is a handheld gaming PC that stands out among other players in the field for its powerful hardware and portability. In addition, as the ROG Ally runs Windows 11, the device doubles as a compact computing solution. Regardless of whether you’re locked in a premium gaming experience on the go or using the Ally to crunch numbers in Excel, there are some kinks that need ironing out. Windows 11 is far from bug-free, and without traditional inputs like a keyboard or mouse, navigating the ASUS ROG Ally can result in a myriad of annoyances.
- 1. Manually Add Games and Apps in Armoury Crate
- 2. Use Controller Buttons to Navigate Windows
- 3. Hotkey Shortcuts
- 4. Remap Controller Buttons
- 5. Calibrate Triggers, Analog Sticks and Vibration
- 6. Hold the Command Center Button for Ctrl + Alt + Delete
- 7. Quick Access of the On-Screen Keyboard
- 8. Take a Screenshot or Screen Recording
- 9. Tether the Ally to a Phone to Game Online While on the Go
1. Manually Add Games and Apps in Armoury Crate
Armoury Crate is a one-stop shop where the Ally organizes all of your installed games, regardless of which platform the game originated from. When you install a game, Armoury Crate will automatically add the title, along with corresponding banner art, allowing you to jump into your games with ease. You can also manually add a game, or any program for that matter, to Armoury Crate.
To add a game or app, just hit the Add button in the top right of the screen inside Armoury Crate. This will open a list of games and apps. Find the one you want to add and press the A button.
If you use your Ally for productivity, you can also add programs like Word or an Internet browser. This would enable you to launch virtually anything from the Armoury Crate app.
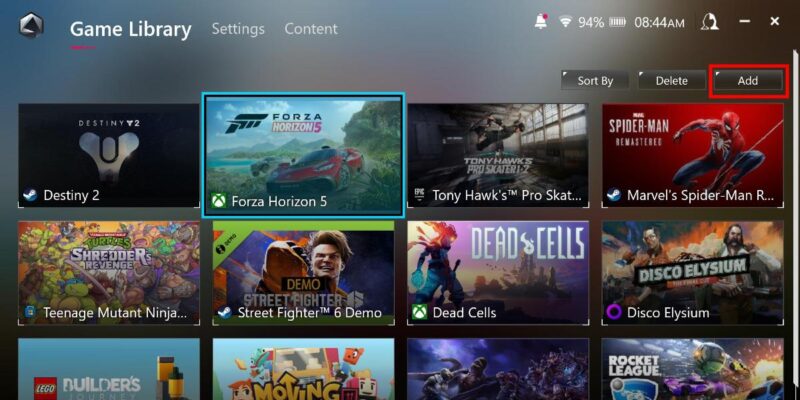
You can remove any game or app from Armoury Crate by tapping the Delete button found next to the Add button. Be aware that this doesn’t uninstall the game or app from your device – it merely removes it from Armoury Crate. Finally, Armoury Crate will sort your games by those most recently played. You can change the order in which your games are displayed by tapping the Sort by button.
2. Use Controller Buttons to Navigate Windows
While the ASUS ROG Ally’s 120 Hz touch screen looks great when playing games, it can be tricky to get around Windows using your fingers. Attempting basic functions, like right-clicking and dragging and dropping, can be infuriating.
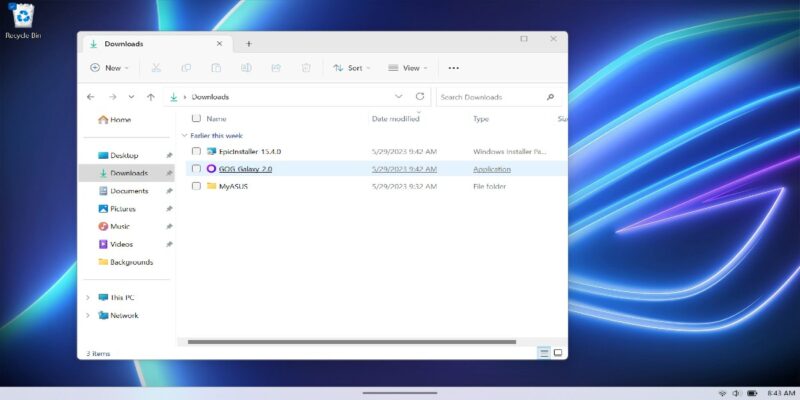
Thankfully, ASUS had the forethought to emulate mouse controls using the ROG Ally’s existing buttons. The default bindings are listed below:
- Right joystick moves the cursor
- Press the right should button to left-click
- Press the right trigger button to right-click
- Press the A button for Enter
- Press the B button for Escape
3. Hotkey Shortcuts
Using the Macro button as a hotkey, there are a number of preset shortcuts. Here is the complete list:
- Macro button 1 or 2 + D-pad Up: Show keyboard
- Macro button 1 or 2 + D-pad Down: Task Manager
- Macro button 1 or 2 + D-pad Left: Show desktop
- Macro button 1 or 2 + D-pad Right: Task Viewer
- Macro button 1 or 2 + A: Take screenshot
- Macro button 1 or 2 + B: Show Windows Notification Center
- Macro button 1 or 2 + X: Projection Mode
- Macro button 1 or 2 + Y: Start recording
You can see a complete list of preset shortcuts at any time by long-pressing the Armoury Crate button. You can also create custom keymaps in Armoury Crate.
4. Remap Controller Buttons
While we’re on the topic of buttons, you can remap all of the controller buttons. When you play a game that has controller support, the ROG Ally should work without any fuss. If you want to change what the buttons do, head to Armoury Crate -> Settings -> Control Mode -> Configure.
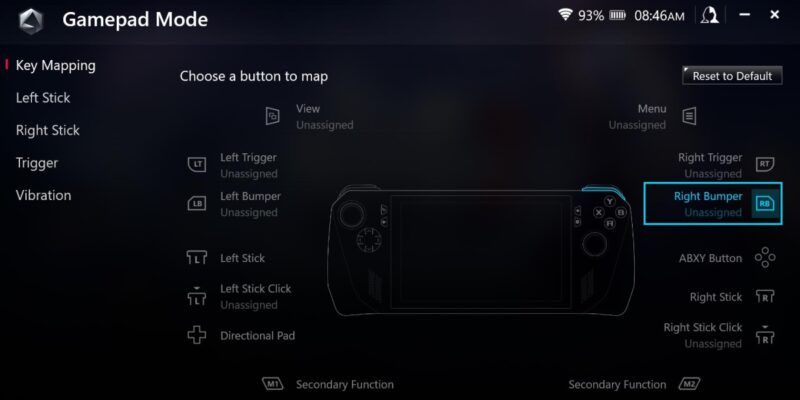
Before you remap any buttons, you’ll need to choose which scenario you want the new bindings to apply to. Choose either Gamepad for games that support controllers or Desktop Mode for Windows and games that do not support controllers. Select the button you want to change, then remap it to a different button or have it complete an action.
With custom Game Profiles within Armoury Crate, you can remap buttons for a specific game. You can even tell Armoury Crate to change the operating profile of the Ally when a specific game launches. For more info, consult ASUS’s extensive guide on remapping buttons and creating Game Profiles.
5. Calibrate Triggers, Analog Sticks and Vibration
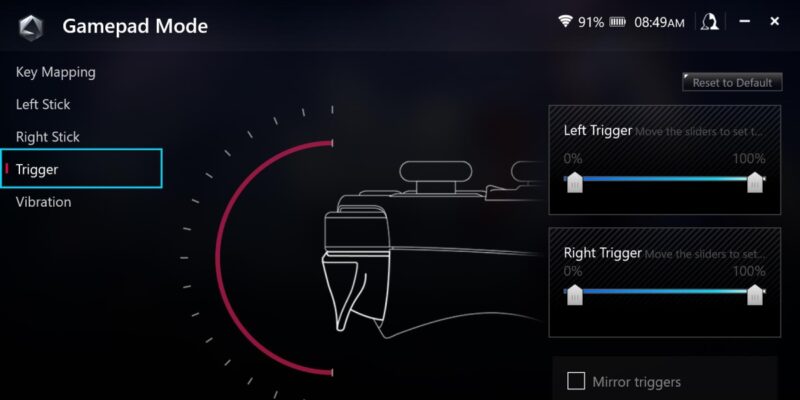
While you’re remapping buttons, you can also calibrate the trigger buttons, analog sticks and the level of vibration in the section of Armoury Crate. Adjust the sensitivity of the analog sticks and the triggers by selecting Calibrate under Control Mode and following the on-screen instructions. Furthermore, if you find the strength of the haptic feedback too intense, select the Vibration tab on the left side of the screen to adjust the Ally’s vibration.
6. Hold the Command Center Button for Ctrl + Alt + Delete
Most ROG Ally users will spend most of their time in Armoury Crate. Unless you’re using your Ally as a traditional PC, there’s little reason to ever leave Armoury Crate.
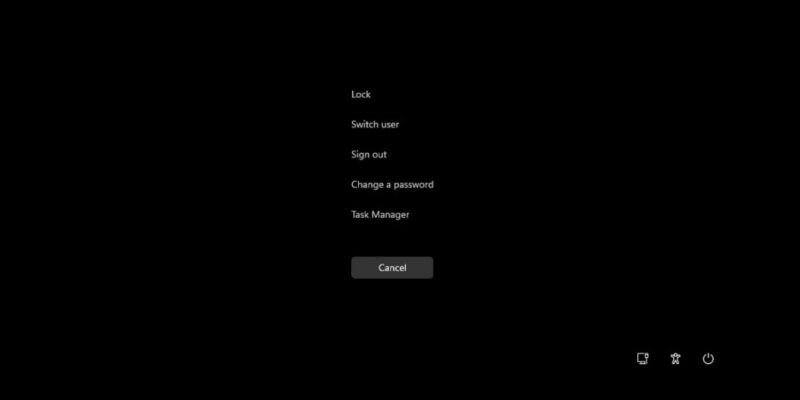
If you want to shut down, change users or kill an app quickly, you’d normally minimize Armoury Crate. However, holding the Command Center button to the left of the screen prompts the Ctrl + Alt + Delete screen to appear. You can shut down, switch users and launch the Task Manager.
7. Quick Access of the On-Screen Keyboard
As mentioned earlier, navigating Windows with the touch screen is finicky. This is especially true when it comes to inputting anything with the onscreen keyboard. In fact, in our tests, placing the cursor in a text box doesn’t always prompt the onscreen keyboard to appear, rendering the user unable to input text.
Fortunately, you can force the keyboard to launch manually in two ways. Press the Command Center button to the left of the screen, then tap on the keyboard launch button. The keyboard will appear. Alternatively, pressing one of the mappable macro buttons on the back and Up button on the D-Pad will also make the keyboard appear.
8. Take a Screenshot or Screen Recording
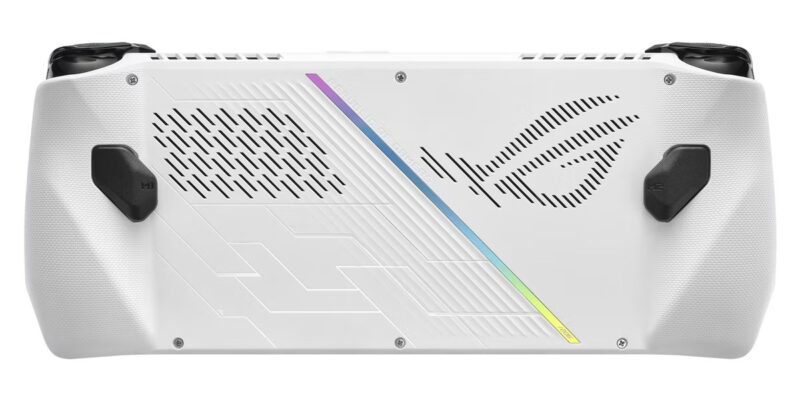
Whether you’re just snapping a pic of the action or recording an epic win streak, recording your gaming sessions is a natural impulse regardless of whether you aspire to Twitch stardom or not. Fortunately, doing both with the ROG Ally is a snap. To take a screenshot, press and hold either the left or right Macro buttons on the back of the Ally and press the A button. To start a recording, press and hold one of the Macro buttons and press the Y button.
You can find your screenshots and video captures by navigating to the Windows desktop, opening a File Explorer window, and following this path: Home Folder -> Videos -> Captures.
9. Tether the Ally to a Phone to Game Online While on the Go
If you primarily play multiplayer titles, the ROG Ally’s portability takes a hit as you’ll need to be tethered to a Wi-Fi connection to stay in the game. Fortunately, this is easily fixed, provided you have a cell phone connected to a mobile network. Just use your phone as a Wi-Fi hotspot. Go into your phone’s settings (how to do this will depend on your phone model) and turn on tethering mode. Back on your ROG Ally, open the Wi-Fi settings, and find the network created by your phone. Connecting to this network will allow the Ally to use your phone’s mobile data.
Be aware that if you have a data cap on your phone, you may want to monitor your data usage. Generally speaking, gaming online won’t consume that much data, but think twice before you download a game off of Steam.
The ROG Ally is an impressive machine that is far from perfect. The decision by ASUS to run Windows on the Ally makes for a more familiar PC gaming experience – complete with all of the bugs and annoyances associated with the Windows OS.
The ROG Ally has a lot of options when it comes to potential fixes. Almost all of them require very little effort and go a long way toward improving the end-user experience. Find out how the ROG Ally compares to the Steam Deck.
Image credit: ASUS
Our latest tutorials delivered straight to your inbox